Ruby® Beta Phase has ended. All content on www.rubyhelp.com is related to Ruby® 2.
Please update your Ruby® to the latest version.
To download Ruby® 2 please go to ruby.troteclaser.com and get the latest version.
As Beta user you can continue using your current login data, no additional activation necessary.
The Preparing Screen is there to finalize your created job and push it to the laser. There are multiple settings to adjust like the Material or the Processing rules.
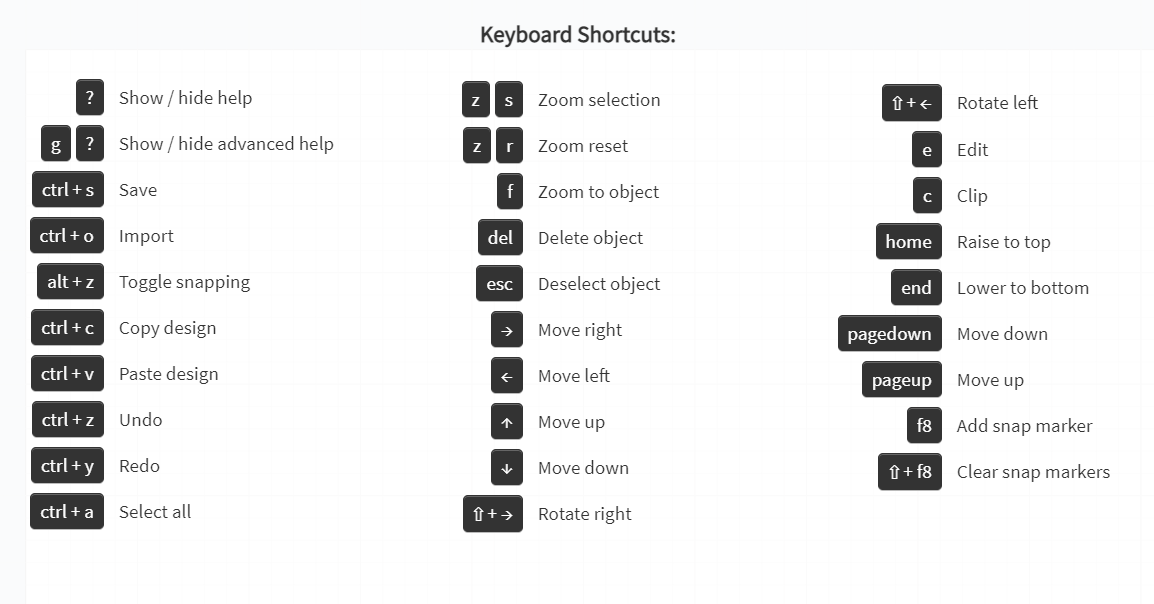
Pro tip: Press ‘?’ to access the shortcuts. They can be really useful!

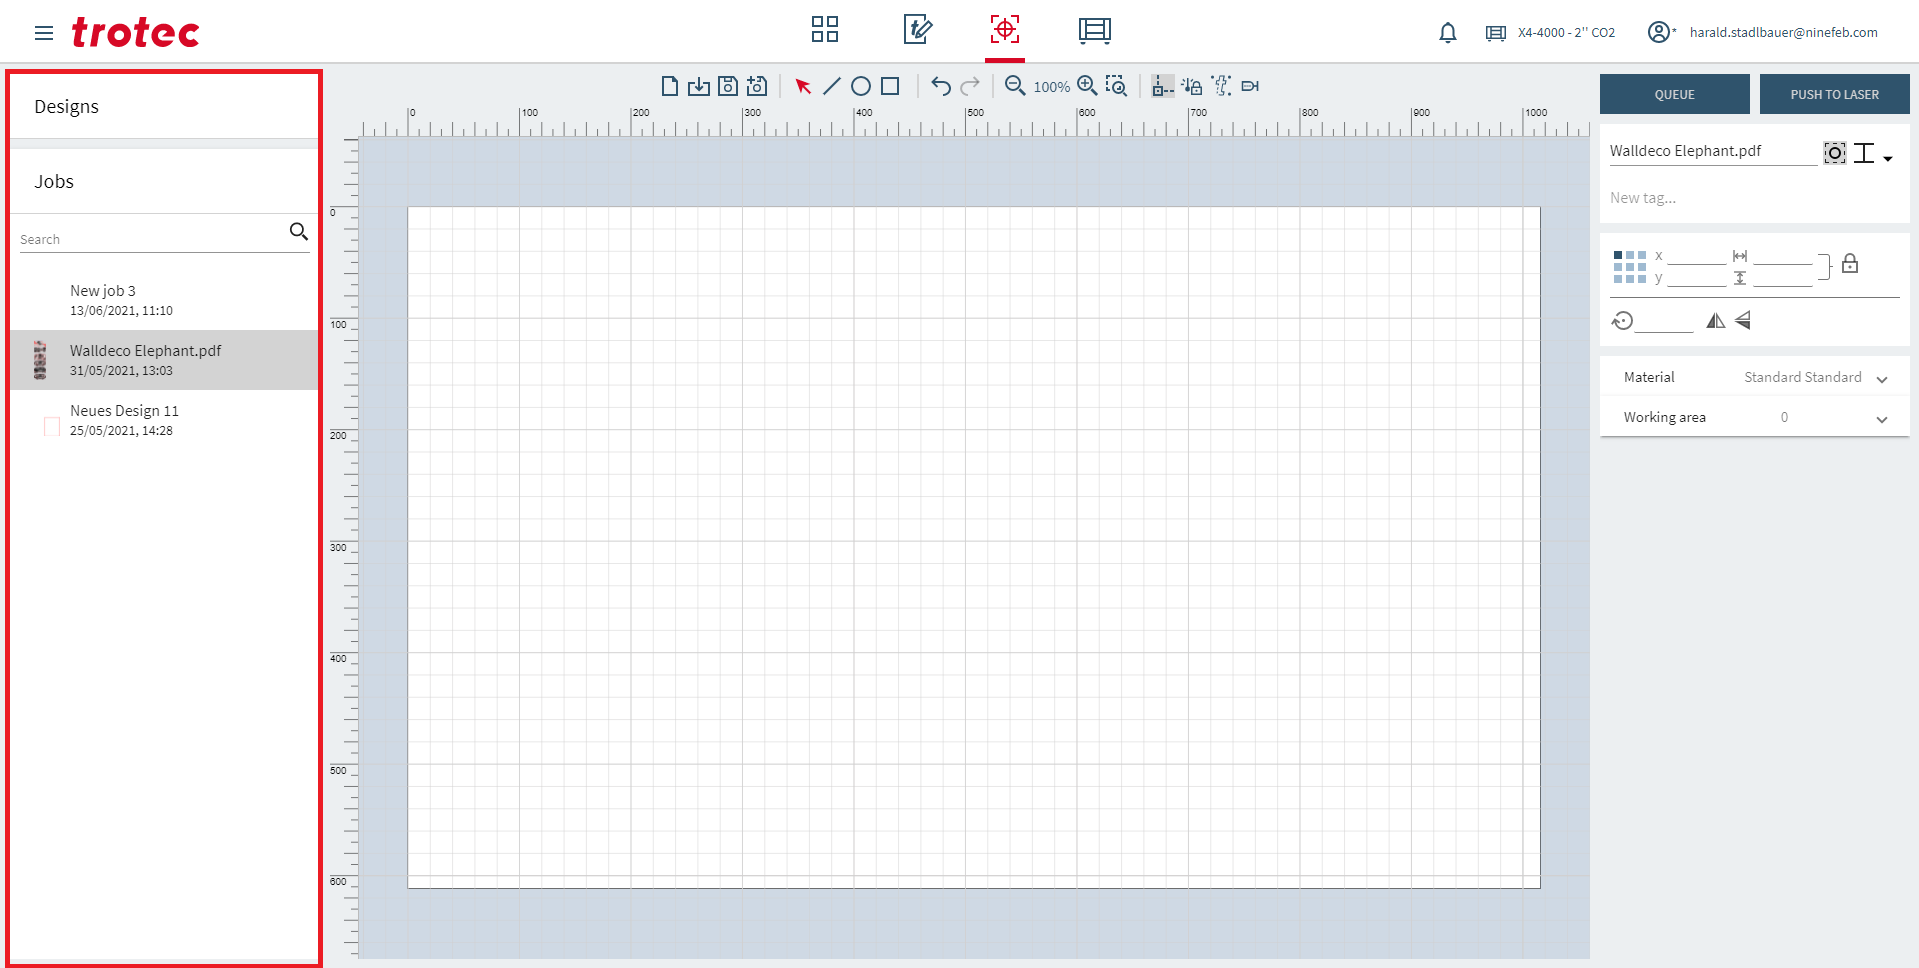
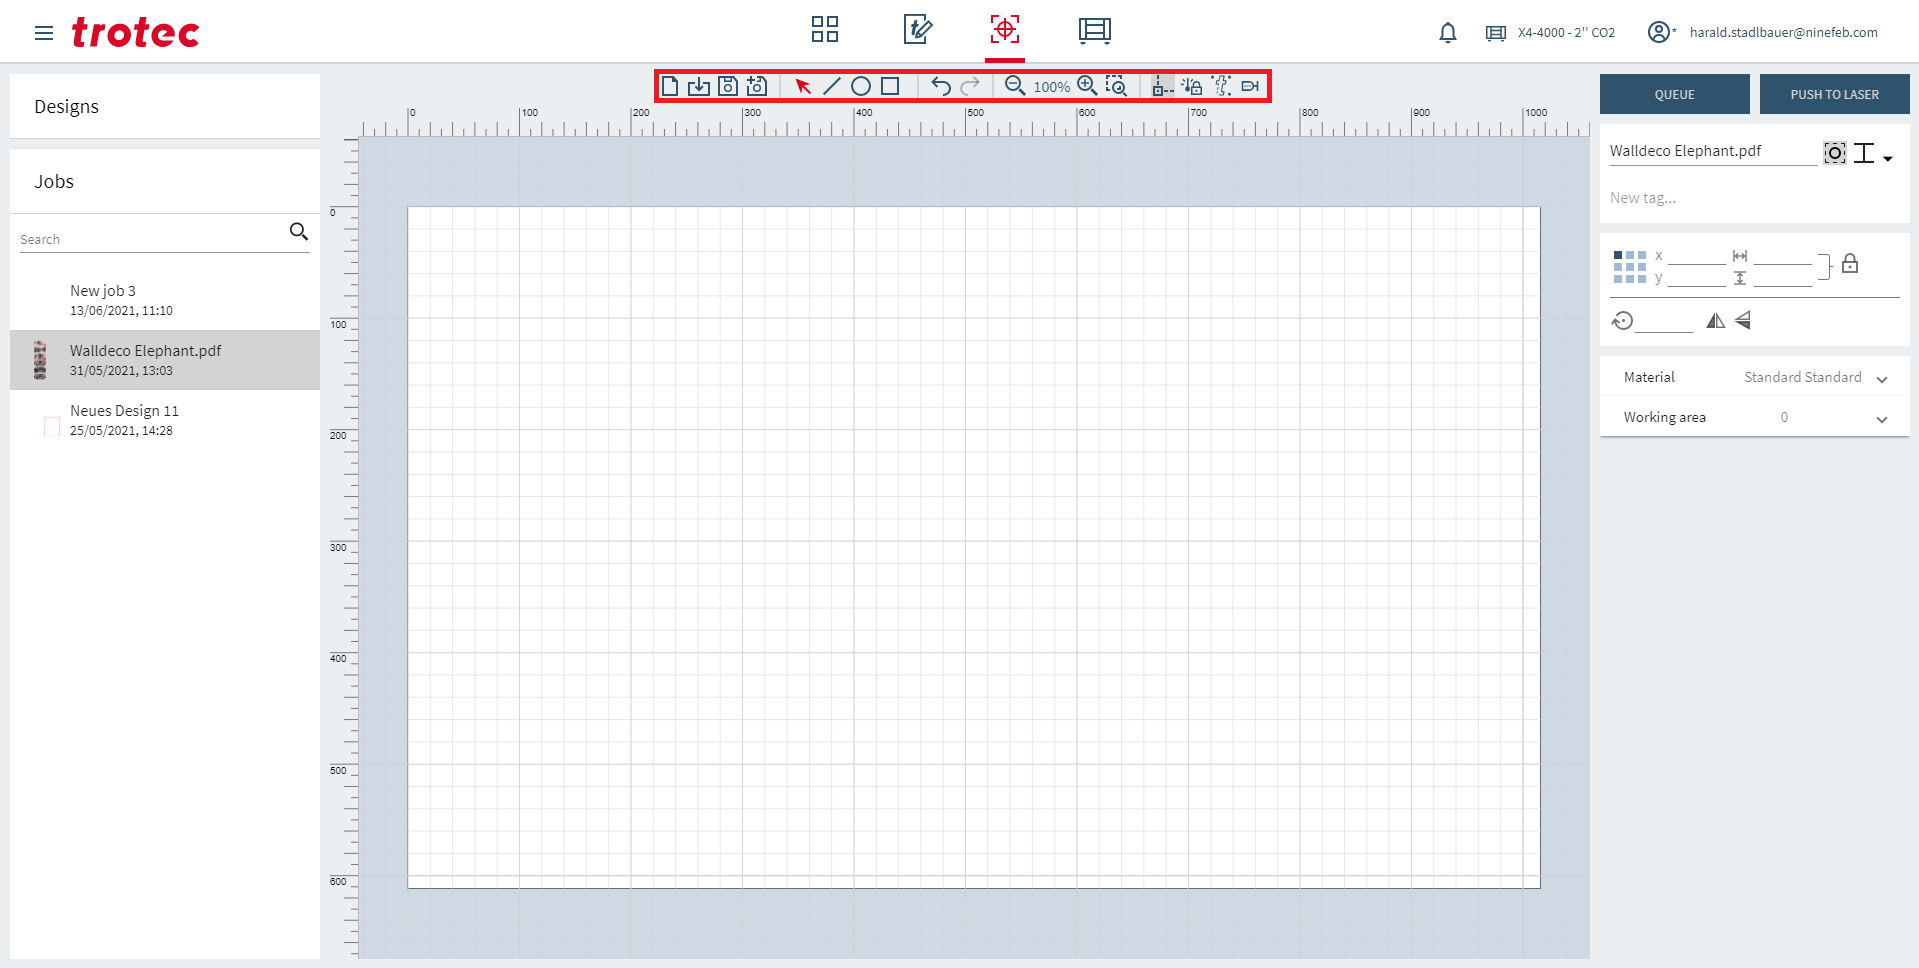
This screen has 3 main areas:
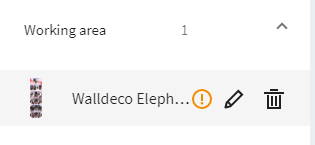
Job list
| Search for a Job | |
| Delete a Job |
Toolbar
| Add a new Job | |
| Import a Job | |
| Save | |
| Save as new | |
| To select a object | |
| To draw a line | |
| To draw an ellipse | |
| To draw a rectangle | |
| Undo your last step and Redo your last step | |
| Zoom in and zoom out | |
| Zoom in on a section | |
| Snapping on/off | |
| Lock laser head off | |
| Print and cut | |
| Rotary |
Right panel
The Right panel is separated in 3 areas:
Production

 | Queue your Job at the laser |
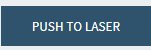 | Push your Job immediately to your laser |
Design
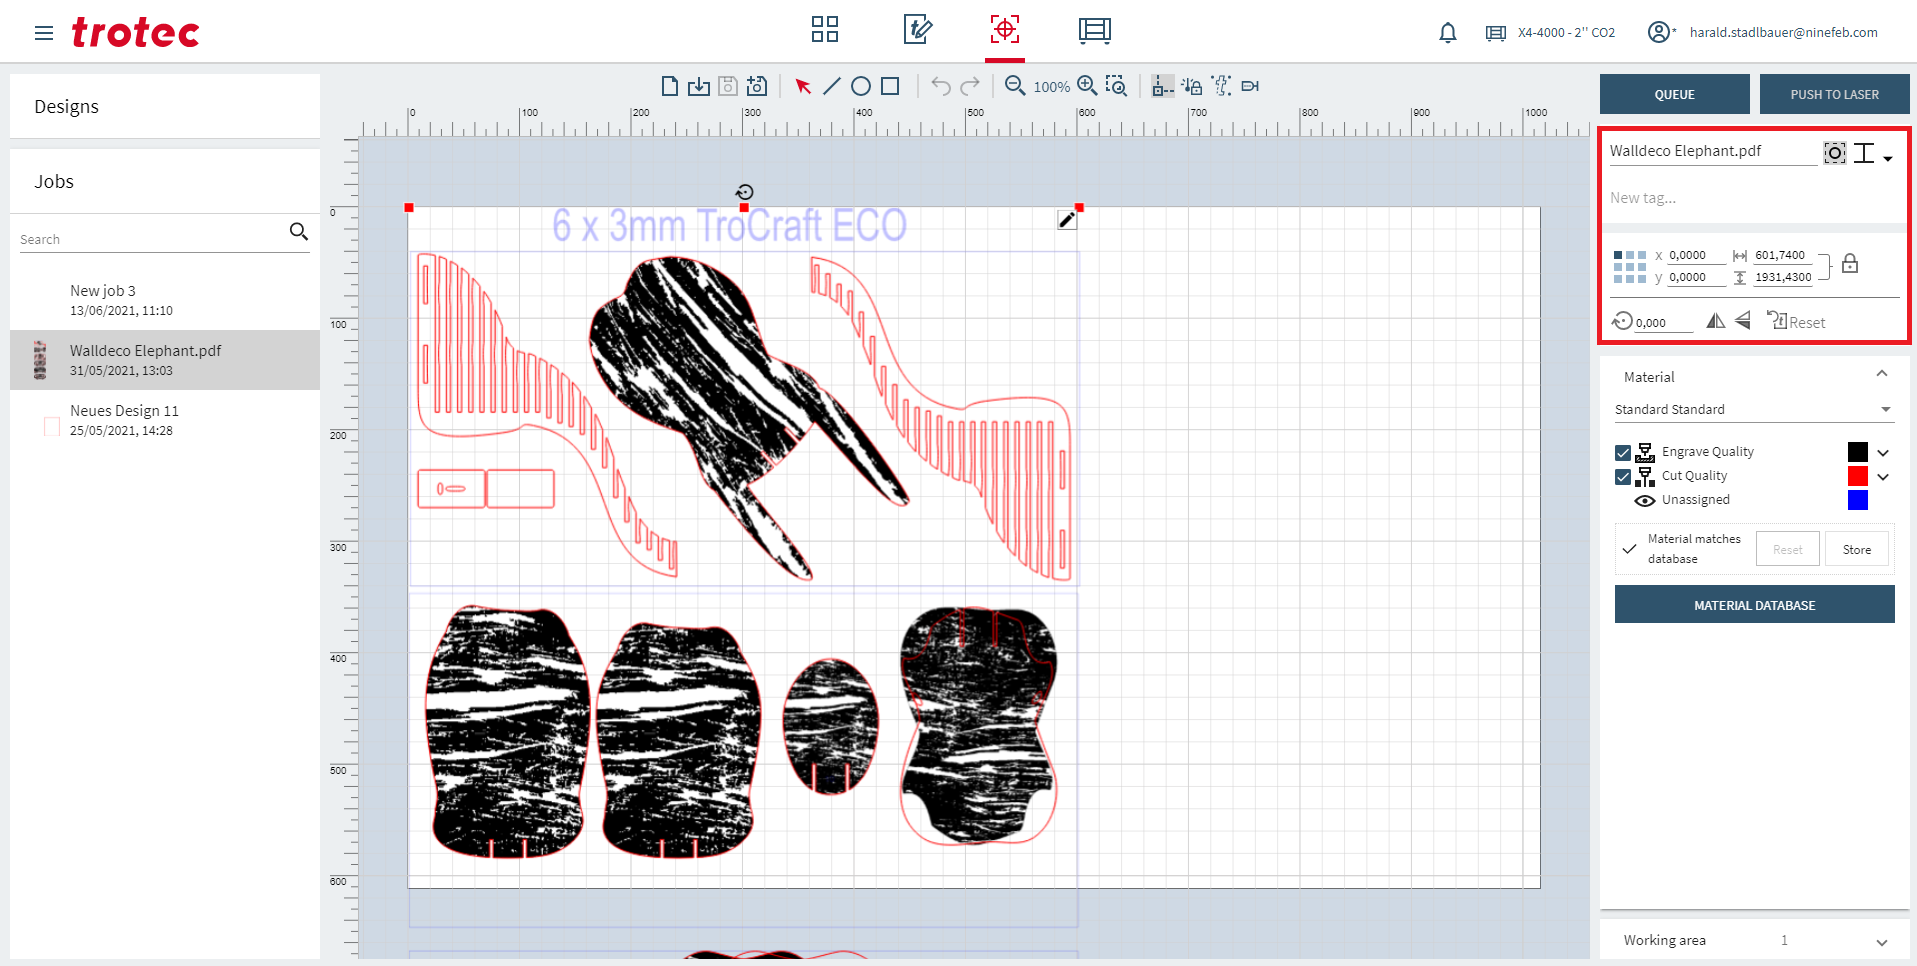
 | Design name |
| Inner geometry first | |
 | Adjust skipping overlapping cutlines: – Skip overlapping cutlines: off – Skip overlapping cutlines: Straight lines only – Skip overlapping cutlines: Full |
| Add a tag | |
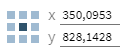 | Coordinates of the selected object |
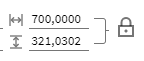 | To scale the slected object. You can also lock the two values |
| The rotation of the selected object | |
| To mirror the selected object |
Laser rules
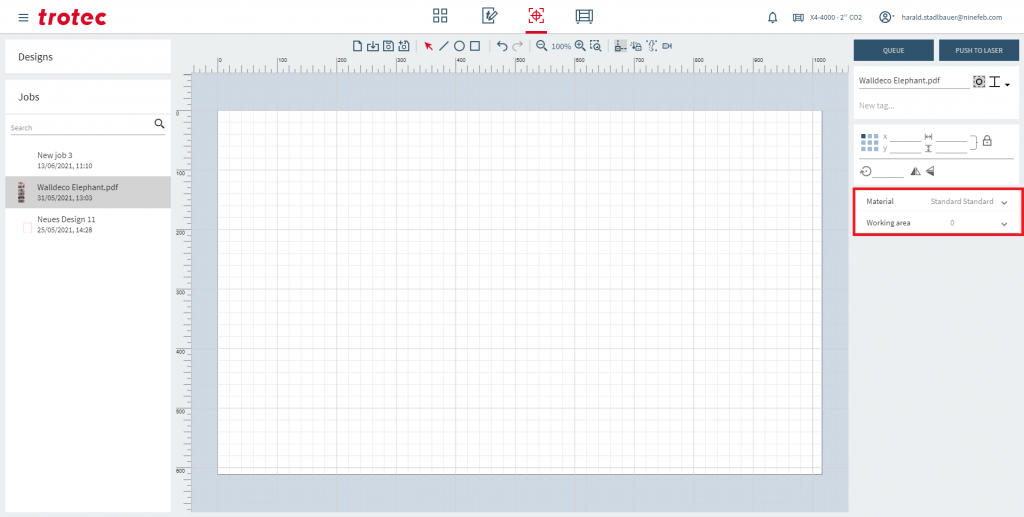
 | Choose your Material by clicking on Material name. You can quick adjust it or move to the Material Database and create a new Material. |
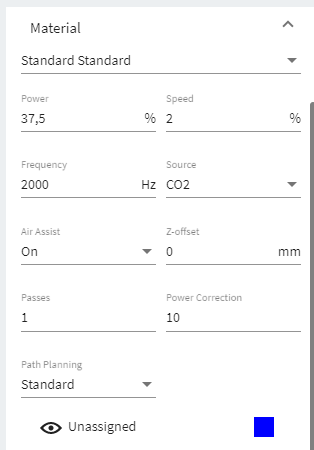 | Adjust your laser settings. |
 | Click on it to adjust your Working area. You can simply adjust it by dragging. |
| This symbol gives you a warning about an error. |
Shortcuts