Ruby® Beta Phase has ended. All content on www.rubyhelp.com is related to Ruby® 2.
Please update your Ruby® to the latest version.
To download Ruby® 2 please go to ruby.troteclaser.com and get the latest version.
As Beta user you can continue using your current login data, no additional activation necessary.
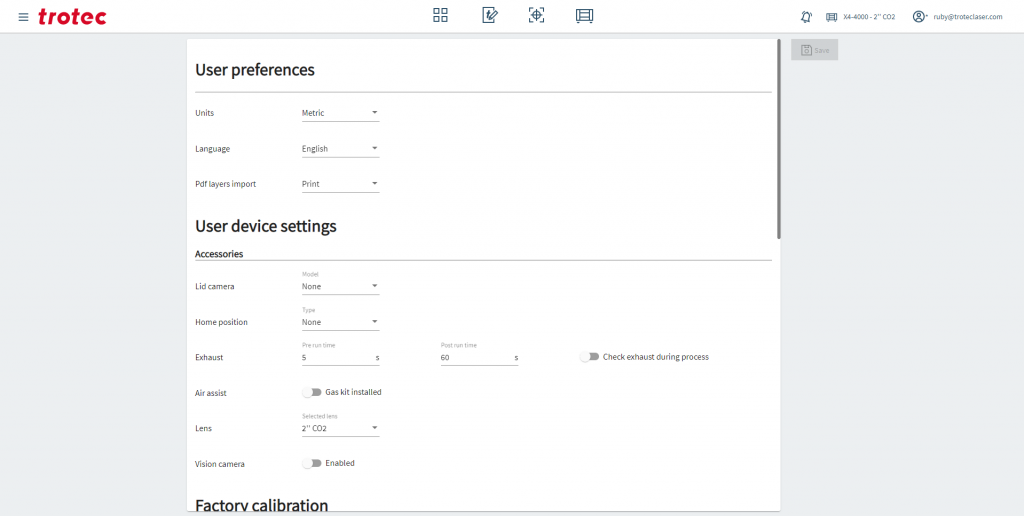
Here you can change some personal or machine settings.

| Save your changes | |
| Choose how the units should be displayed | |
 | Change your language |
| Pdf layers import | |
 | Choose your lid camera |
 | Choose a Home Position type |
 | Custom home position |
 | Custom home position |
 | Exhaust pre run time |
 | Exhaust post run time |
| Check exhaust during process | |
| Air assist – Gas kit installed | |
 | Choose a lens |
| Enable the vision camera |
Vision camera calibration
- Enable the Vision camera by clicking on the switch.
- Click save to continue the process. (Settings must be saved before calibration is performed)
- If your queue isn’t empty you will get a pop-up that your queue will get cleared.
- Enter Parameter to cut through your calibration (eg. Power: 10%; Velocity: 1%)
- Move the laserpointer to the spot where you want to cut the calibration circles.
- Click on “Queue calibration job” to start the calibration.
- Switch to the Produce Screen and start the job
Note: The camera detects the offset values and adds them to the settings.
