Below you can find the camera driver installation steps for your Print & Cut option.
Please note:
For the driver installation you need local computer Admin rights.
This procedure is not needed on Run on Ruby System.
How to identify the camera
Take a look at the backside of your Trotec Print & Cut camera.
If you see a barcode sticker, follow the guide for the Allied vision camera.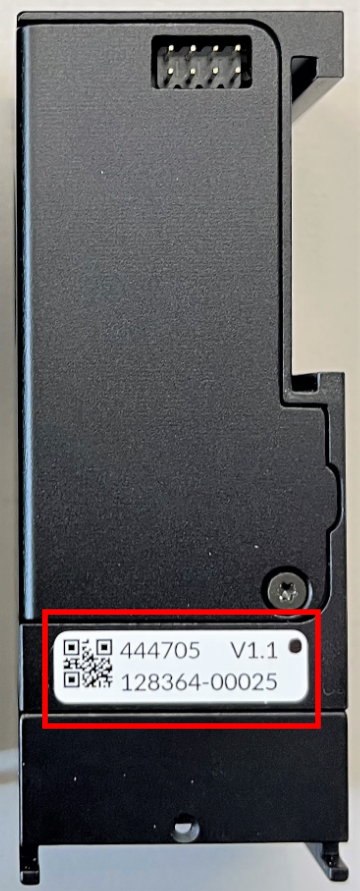
If there is no sticker on your camera, please follow the guide for IDS camera.
IDS camera installation
- Download camera driver from here.
In case you see a “trust” message from your web browser, please follow this link for help. - UNPLUG the camera from the X-Axis before you run the installation
- Execute the file (admin rights are required) and select “2” to install the USB driver
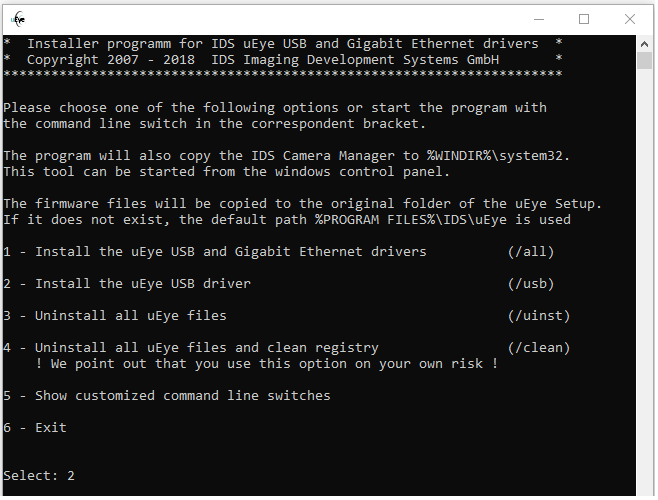
- After the driver was installed correctly press “ENTER” to close the window.

The installation is now finished, your camera is now working with Ruby.
Allied Vision camera
- Download drivers from here.
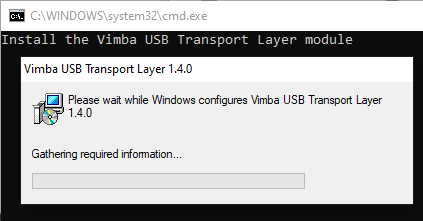
In case you see a “trust” message from your web browser, please follow this link for help. - Execute the file (admin rights are required) and the driver will start to install automatically.
- As soon as the driver installation is finished, an Explorer window will pop up. Execute “AlliedVisionInstaller”.

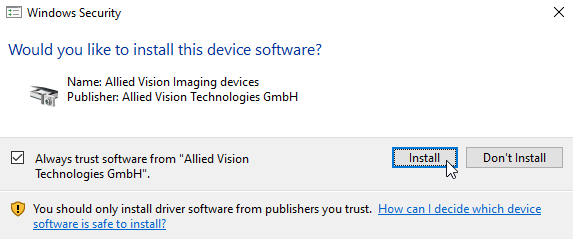
- If this window shows up, click on install.
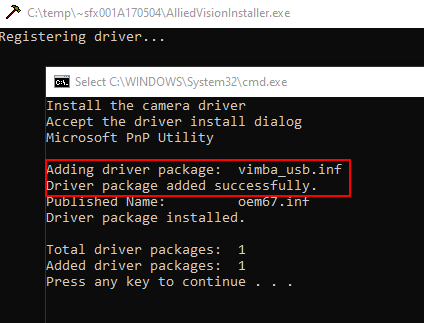
- The driver register will start automatically. Make sure, it added the driver successfully!
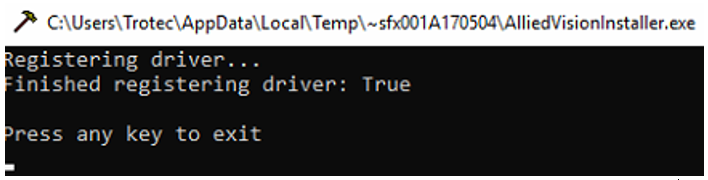
- Continue with any key and exit the next window with Enter.
The installation is now finished, your camera is now working with Ruby.